03 August 2014

Paltrabinet; Part 2

Well despite it being three weeks since my last post, it didn't take us that long to finish the thing - I'm so impressed with how quickly you can knock stuff up in pallet wood.

Day 3

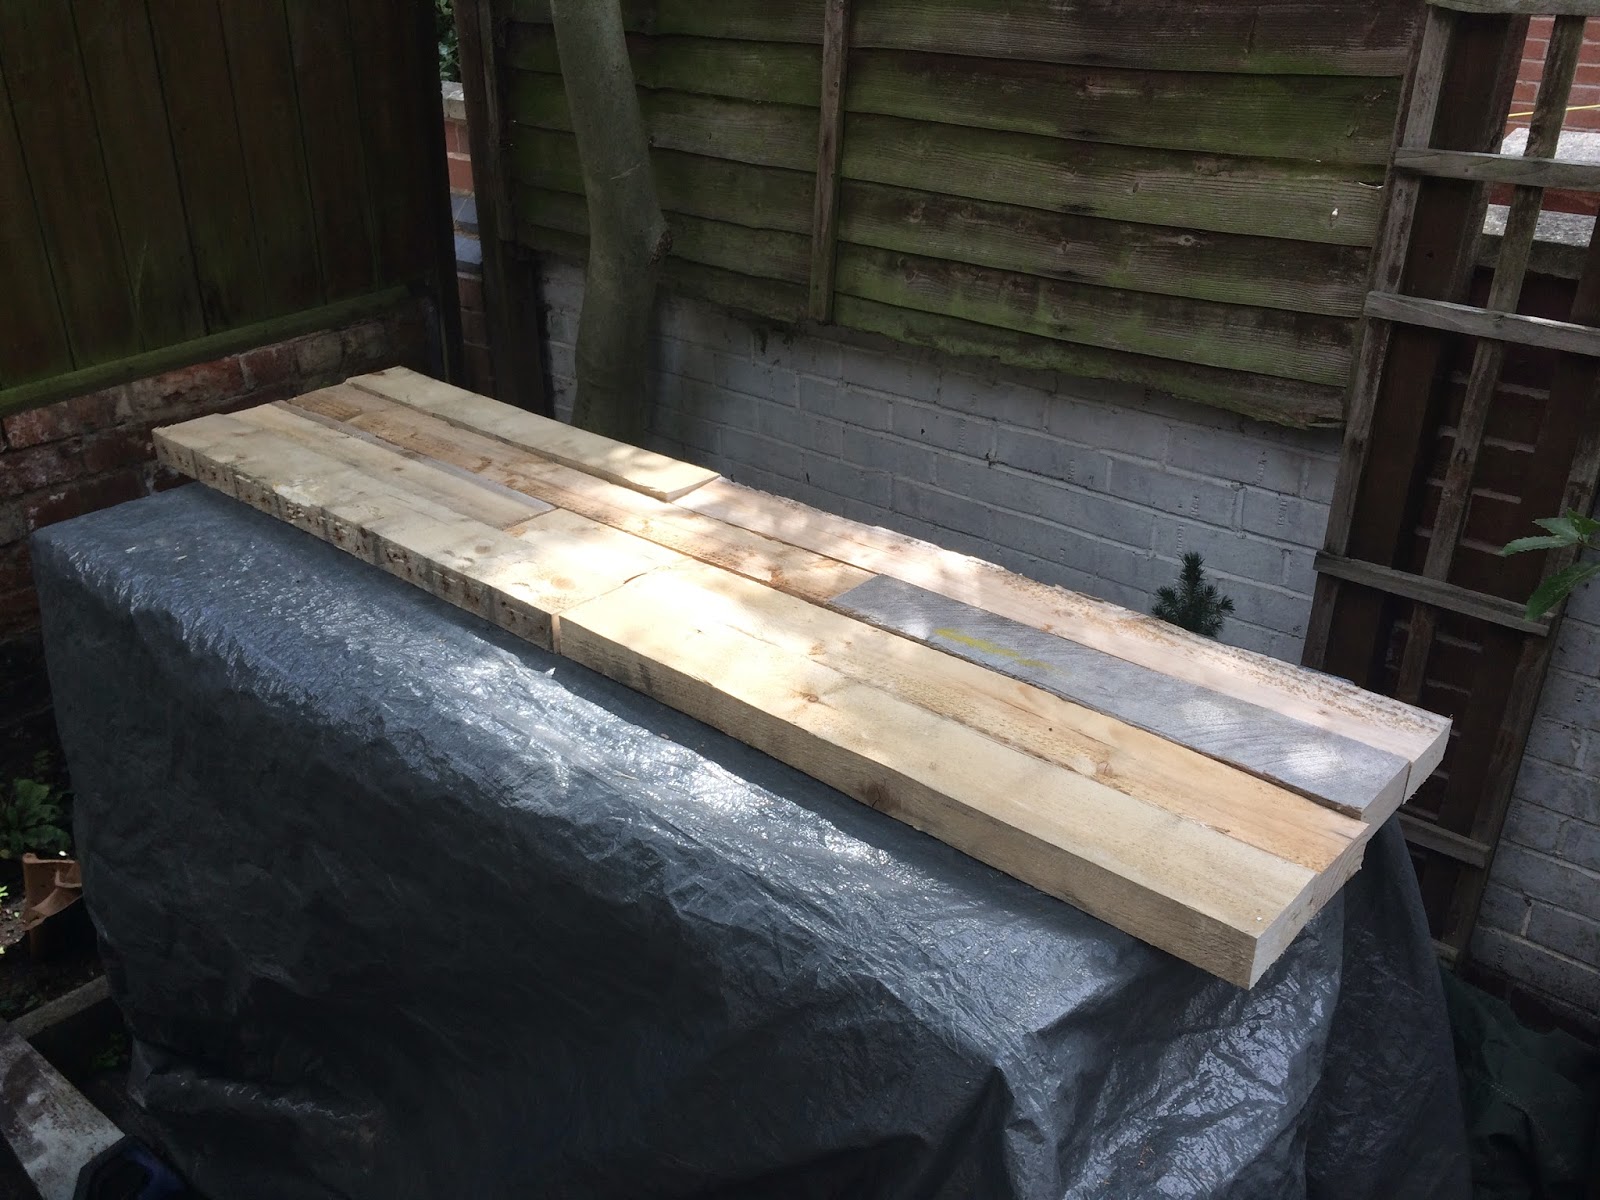
After the base was finally constructed I had a bit of a chilled out day just sanding it down. I decided not to sand it all the way back because the wood looked amazing with all it's different colours...


After the sand down it was time to bring it in - and man, this thing is heavy! We lugged it inside only to find we'd made a fatal error...

When we were adding the trim around the sides, we didn't take into account that we'd already built the thing to fit snugly in the alcove. That kinda meant this happened;


...Which was a bit of an 'Oh S**t' moment! Luckily we had actually made the unit the right size, and it was just when we got carried away thinking that side trims would be a good idea that we put our foot in it.

So off the trims came with the help of a chisel and a claw hammer, and eventually we got her in.


You'll see as well that we ended up adding some handles after all. I had thought about cutting slits in the doors so that no handles were needed, but because of the inside positioning of the window box shelves, the slits would have had to go in an odd place, so we decided against it.

Instead we headed into the log store where I've been hoarding some fir trees that I axed down from my mum's garden, ready to burn in the winter. We chopped off some sections from the branches, sanded them down, stuck a screw in the back and came out with these beauties...


I'm so pleased we tried this - it worked out so well and it's so in keeping to use wood that would have otherwise been burnt, rather than buying new handles off the shelf.

Day 4

Day 4 was all about the top section. I'd done some scribbles that ended up in a lukewarm debate about bread bins, and eventually we were agreed.


So the next job was to turn my scribbles into scientific blueprints...


After the plans were finalised we headed outside with all the pallets I'd been deconstructing ready for Paltrabinet Day 4. It really helps with the speediness when you've already got the pallets broken down and ready to go.


And at this point we had so many of the big chunky bits that held the planks together, we actually had to start burning some because we had nowhere to store it all anymore. It would have been nice to keep it all until winter but the log store was already rammo, we had wood piling up everywhere! So we carried on the build with a summer chiminea session to keep us going...


So first for the top section came the sides. For these we used the thicker, smaller sections of wood that you find at the ends of the pallets. We screwed and glued these together because we needed them to be nice and sturdy.


It's pretty impossible when you're building something like this to not want to see what it looks like in situ as you're going along.


So after we had a couple of these built we went on to construct the shelves that would go between them.


Aaand again we bought it in to check it out...


One shelf became two shelves...


And then the spice rack went in...


And somewhere between that ^^^ and this vvv, the divider went in for the top cupboards. Oh, and we lugged it back inside for another cheeky ganders...


At this point we started nailing in the wood that was going to line the back of the unit. This was a nice little production line job that we got through pretty sharpish.


And sometime around here, after filling gaps with the PVA again, we decided to call it a night...


Day 5

Day 5 was all about the finishing off. By this point we knew it was the trims that gave it that professional looking finish, so we started fixing it up...


And after the trims came the doors (this bit was way too exciting)...


That's my bread bin there ^^^, at the bottom in the middle :) Unfortunately Daymans had ran out of the hinges we used on the bottom part of the Paltrabinet, so the doors were just for show at this point. We took them off and tried it out for size...


It is VAST! The great thing is as you walk into the room you'd have no idea the top section was even there, it's designed to be nice and slim so it fits behind the window. But even still, when you turn around and look at it after you've come in the room, it's a pretty amazing statement!


The guys at Daymans sorted out our hinges while we chopped some more fir tree branches so the whole thing could have matching handles... Little tip here - saw the handle off while the branch is still attached to the tree! Don't have a blonde moment like me, chop a tiny bit of branch off, and then spend 15 minutes trying to saw an even tinier bit off for a handle, it will only end in frustration and sawn fingers!


Day 6

A couple of days later and my hinges came, so we could finally put the doors on. This was a pretty momentous occasion and the bread bin did not disappoint!


After a final sand down and an oil over with some boiled linseed oil - which we also had in stock so no extra expense there - this was the final piece...


(And yeah, that's a cheeky little kitchen roll holder Jim made for me out of some pallet and an old broom handle, just for good measure!) 

The whole thing cost a grand total of about £20. We bought hinges, a box of screws, some panel pins and 5 door clasps for holding the cupboards closed (which are super satisfying by the way, sometimes I just stand there opening and closing the bread bin, just because I can). We already had PVA glue and boiled linseed oil. The only other material was the pallet wood, and that was free.

11 July 2014

Paltrabinet; Part 1

So we're working on the Paltrabinet in two sections, just like a Welsh Dresser. So far in two days we've nearly completed the base of the unit - and I say we because I can't take all the credit for this one, it's been a joint effort with help from Jim, my partner in crime, and our friend Hovis.

Day 1

Starting the thing was a bit of a spontaneous decision, as are most of our adventures. One of us normally says hey, why don't we do this? And the next thing we know we're doing it, usually without much planning. But I like it that way. Planning is all well and good but there's only so much you can plan for, and sometimes it's better to just jump straight in, or if not better at least it's character building! Maybe we wouldn't have been so gung-ho if we weren't after that rustic look and the wood wasn't so free!

So the plans (which we deliberated over for a good 15 minutes) went a bit like this;


As you can see they're not particularly detailed, but when you're working with reclaimed wood sometimes this is better. It gives you the freedom to work with what you have and to modify designs, styles or sizes as you go along to match what's available, rather than getting frustrated when all those crappy old nail holes in your free wood don't line up beautifully with that super modern LED strip lighting and the marble worktops you'd planned for.

So after the design stage we set about destroying some pallets. This is a mission in itself! Especially when you're after long lengths - for short lengths you can easily jigsaw bits off, but luckily we've honed our skills and now have  about a 75% success rate for keeping the timber intact.


And I'll tell you what, you don't half pull out a lot of nails from those things...


Oh and while we're on the subject of claw hammering, be careful with those cheap hammers kids! Cheap isn't always cheerful...


But on a nicer note this is one of the happy accidents that happened when we jigged off smaller lengths rather than prying off the whole plank from the frame... Ready made planters!


So we've done the designing (loosely speaking!) and we've broken down some pallets. Now we can get on with constructing the frame. The frame design was already tried and tested on a much smaller scale when Jim made a pallet bedside table last week (blog post coming soon)...


It turned out to be really really solid, so we took the basic concept and upscaled it...


Once we had two frame sections, one for the top and one for the base, we could start to add lengths to the sides...


 After the sides were timbered up we added a central section for stability, and to divide the inside into compartments.


Before we went any further we wanted to make sure we saved some of our best wood for the worktop surface. I'm not sure why we rushed to do this quite so early - we had pleeeeenty of pallets - but it gave us some piece of mind to know we'd chosen some nice sections and put them to one side.


The next step was to add some edge sections near the corners...


And then we fitted the wood which would act as a base.


After adding the base we wanted to get the shelves in. We decided to do half size shelves because I really wanted to build doors that had window box shelves on them, like a proper pantry, so we needed to leave space in the unit for these doors to close on fully without bashing into the shelves. The idea behind the main compartments was that we could have small baskets on the top shelves with our vegetables in, then other taller or stackable items could live underneath, on the base of the unit.


You'll be able to see in this picture above ^ that we also stuck on a kind of trim (this picture was taken before we cut down the trim - we left an overhang to allow for the rest of the panels and worktop to be added, then we cut it down flush once we knew where everything was coming up to). We added some more of this along the sides on day two of the build, and it really started to give the whole thing a more professional looking finish.

After the trim was on we finally got to add the top, and I'm not going to lie, we were all pretty excited about this part...

 
We called it a night after the top was on. We did all of the above in one solid day, knocked on the head at about 10pm. Bearing in mind we didn't start it till about 11am, having only decided to do it at 10:30am, I think we did pretty well! 

Day 2

So today we cracked on with the doors. I prepped some wood for these yesterday so that we could crack straight on with them today. Good job too because we got held up this morning when a lovely chap from Western Power came to change our service head at short notice, so we didn't really get going until lunch time.

The first thing we did was measure up and plan out the doors. One of our first pallet projects for the house was a new back gate (blog post to come!) which we only built a week ago, so I guess we had a bit of a practice in the door making department, albeit only one gate, but hey, it works!


I picked up these really nice gate hinges for £3.50 a pair from Dayman's, our favourite independent DIY store who is luckily just around the corner, and they sell literally everything.


Once we were happy with the doors...


...we started to think about the box shelves for the inside. After a bit of chinwagging I decided I'd quite like one big deep shelf on the left door, and two smaller shelves on the right door. The left would be big enough for tall or deep things like bottles of pop or loaves of bread, while the right side would be good for smaller things, like bottles of olive oil, soy sauce, salt and pepper. Although conveniently the lower shelf on the right door is also tall enough to fit wine bottles in, so that was a double win ;)


And it turned out the relaxed approach to blueprints wasn't such a disastrous idea after all - the door boxes fit perfectly into the main compartments without coming too close to the shelves inside. I'm not saying don't measure, you still need to measure! But measuring as you go seemed to work ok for us!

Finally before we called it a night on day 2, we decided to squish some clear drying PVA glue into the very small gaps in the worktop. We're fine with gaps, it gives the unit that rustic, shabby chic vibe and it's beautiful to see the uniqueness of all the wood. But the idea for this paltrabinet is that our coffee machine will also be sitting on it, so if there's going to be any hot water spillages we don't want it seeping down into the goodies below!

 
So we've PVA'd up and have left it to dry until the morning. Then I'm going to head out and fit some closers to the doors and start the mission of sanding down. That's when she's really going to come into her own. Finally we need to cut some holes in the doors (I think I'm going for 4-finger hole slots rather than handles), then I can start prepping my wood for the top section...